Tuesday, July 14, 2015

Monday Made It with a Whole Brain Teaching Tuesday Twist

Yes, I know it's Tuesday, but I'm still linking up with Tara from 4th Grade Frolics for Monday Made It. Tara had a guest blogger yesterday: Courtney from Ramona Recommends. She wrote about some really great Made-Its. You should definitely check it out! I especially love her Monday Made It #4. She made a really cute pencil notepad. What a cute beginning of the year gift to new teachers!

I didn't have a chance to post a Monday Made It yesterday, but when I saw something amazing at Target last night, I knew I could combine Monday and Tuesday. Thus, Monday Made It with a Whole Brain Teaching Tuesday Twist is happening.

Up first:


A beautiful Whole Brain Teaching Scoreboard! AH! I'm so excited!


All you need for this project is a ruler, yard stick, or other straightedge, the chalkboard (from Target in the dry erase supplies aisle---I did not find it in the new school supplies section), and neon dry erase markers or fun colored chalk. The chalk board comes with a chalk marker and a hook to keep it attached, so maybe I won't lose it?


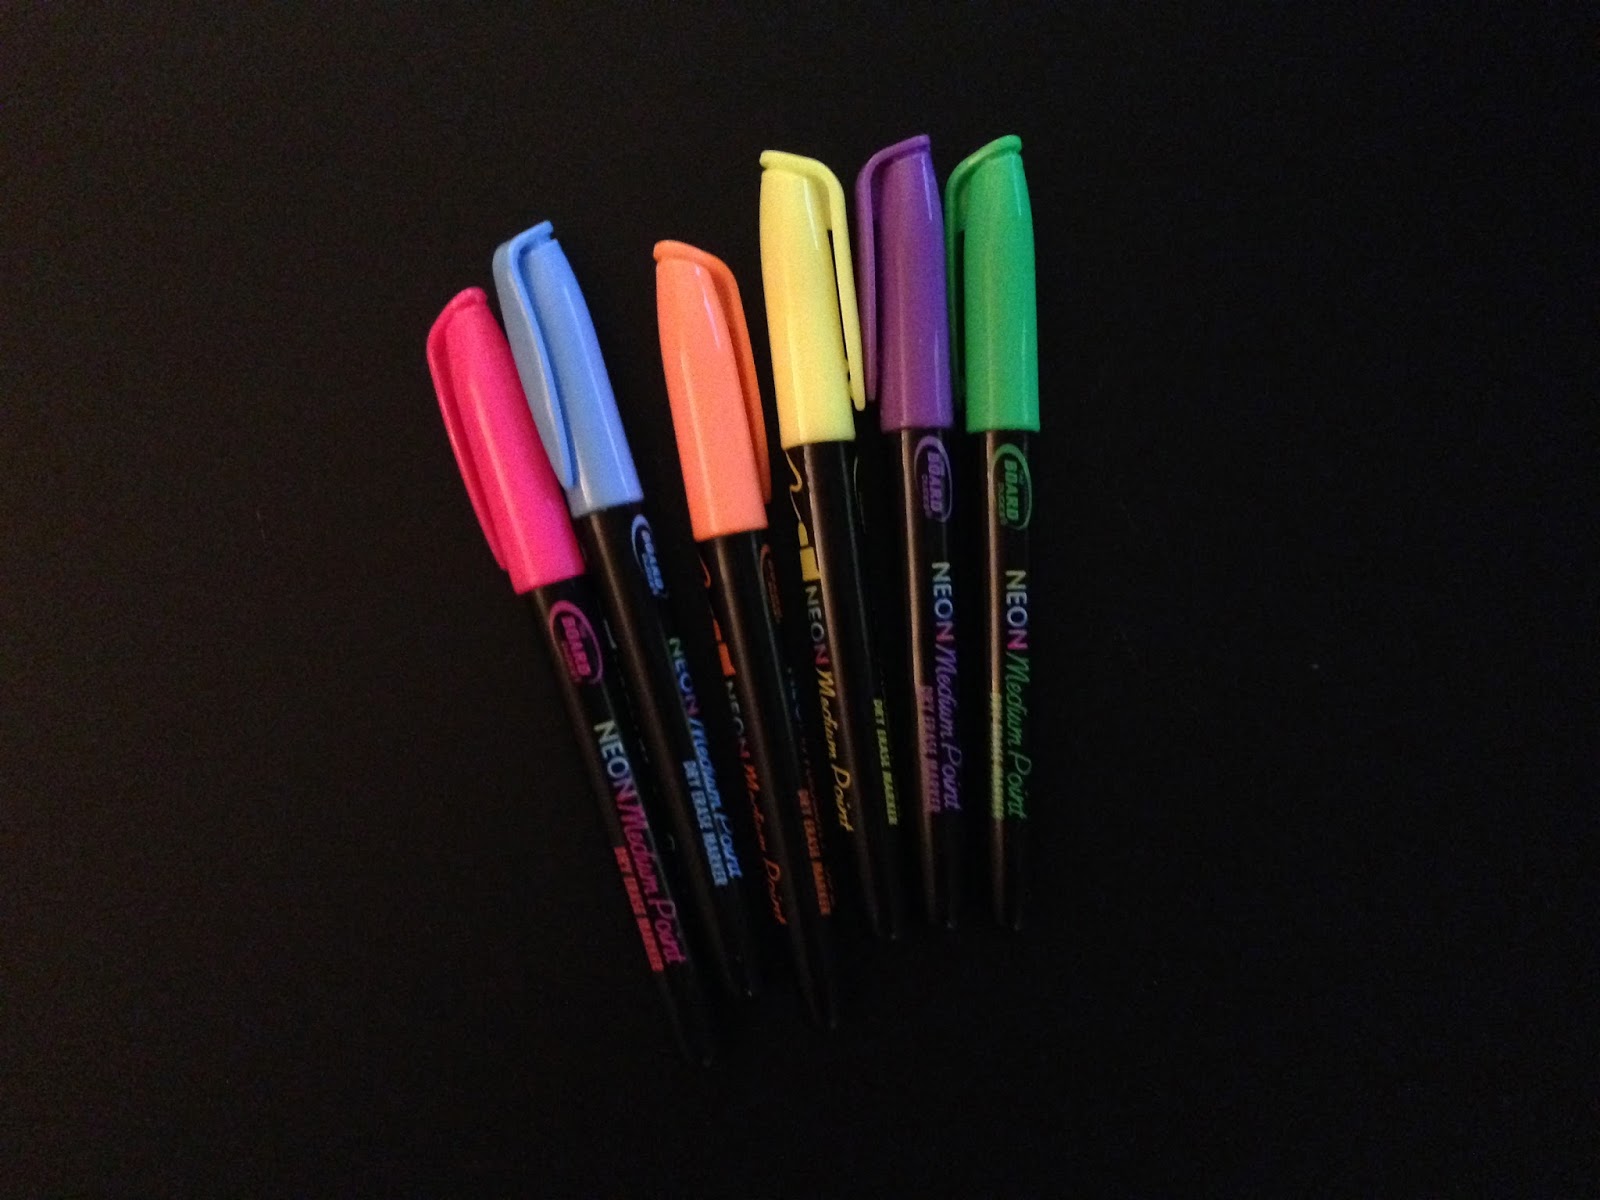
I found these neon dry erase markers in the dry erase aisle at Target as well. They don't really wipe off of this chalkboard like they would on a white dry erase board, but they work. They show up well and won't wipe off easily, so they were perfect for the lines and writing I didn't want to wipe off everyday.


For the tally marks, I'll use the chalk marker that came with the board. It comes off easily when wiped off, so it will work for great for the points that will be erased every afternoon. And of course the handy-dandy clip on the top holds it very nicely.


So, you might be asking, "What is this scoreboard for? How are you going to use it? How are the points awarded? What is a 'Mighty Groan' and 'Oh Yeah!'"

Well, now that you have enjoyed Monday Made It, welcome to Whole Brain Teaching Tuesday!

The Whole Brain Teaching Scoreboard is a motivational tool to help students pay better attention and to buy in more to the WBT system.

One one side of the board is a frowny face and "Mighty Groan" and on the other side has a smiley face and "Oh Yeah" (or "Mighty Oh Yeah," I just didn't have room to write "mighty" all nice and pretty).

When students follow a procedure correctly, you give them a point on the smiley side. But it doesn't end there. You give them "a one second party." I typically tell my kiddos to give me an "Oh yeah!" They give me a powerful "Oh yeah!" and pump their fist in the air. Then, we are moving and grooving again with the lesson. It's just one second, y'all, and they can get out a little energy and loudness in the process. It's fabulous, people!

However, we all know that students don't always follow the procedures we set in place to a T, so we have the frowny side. Were your students too loud getting into line? Did your students not follow the "Class/Yes" procedure? Give them a point under the frowny face, and ask them for a "Mighty Grown." They loudly groan while you put the point on the board.

Typically, I give my students a chance to redeem themselves by asking them to try the procedure again. If they do it well the second time, they get a smiley point and a one second party.

When using the scoreboard, you do want to keep the amount of smiley points and frowny points within 3 points of each other. You don't want your students to become accustomed to receiving either kind of points too much. If they get used to getting all smiley faces, they will start to slack off on their procedure following abilities. On the other hand, if they get too used to receiving frowny faces, they will become resentful, and not want to please their teacher.

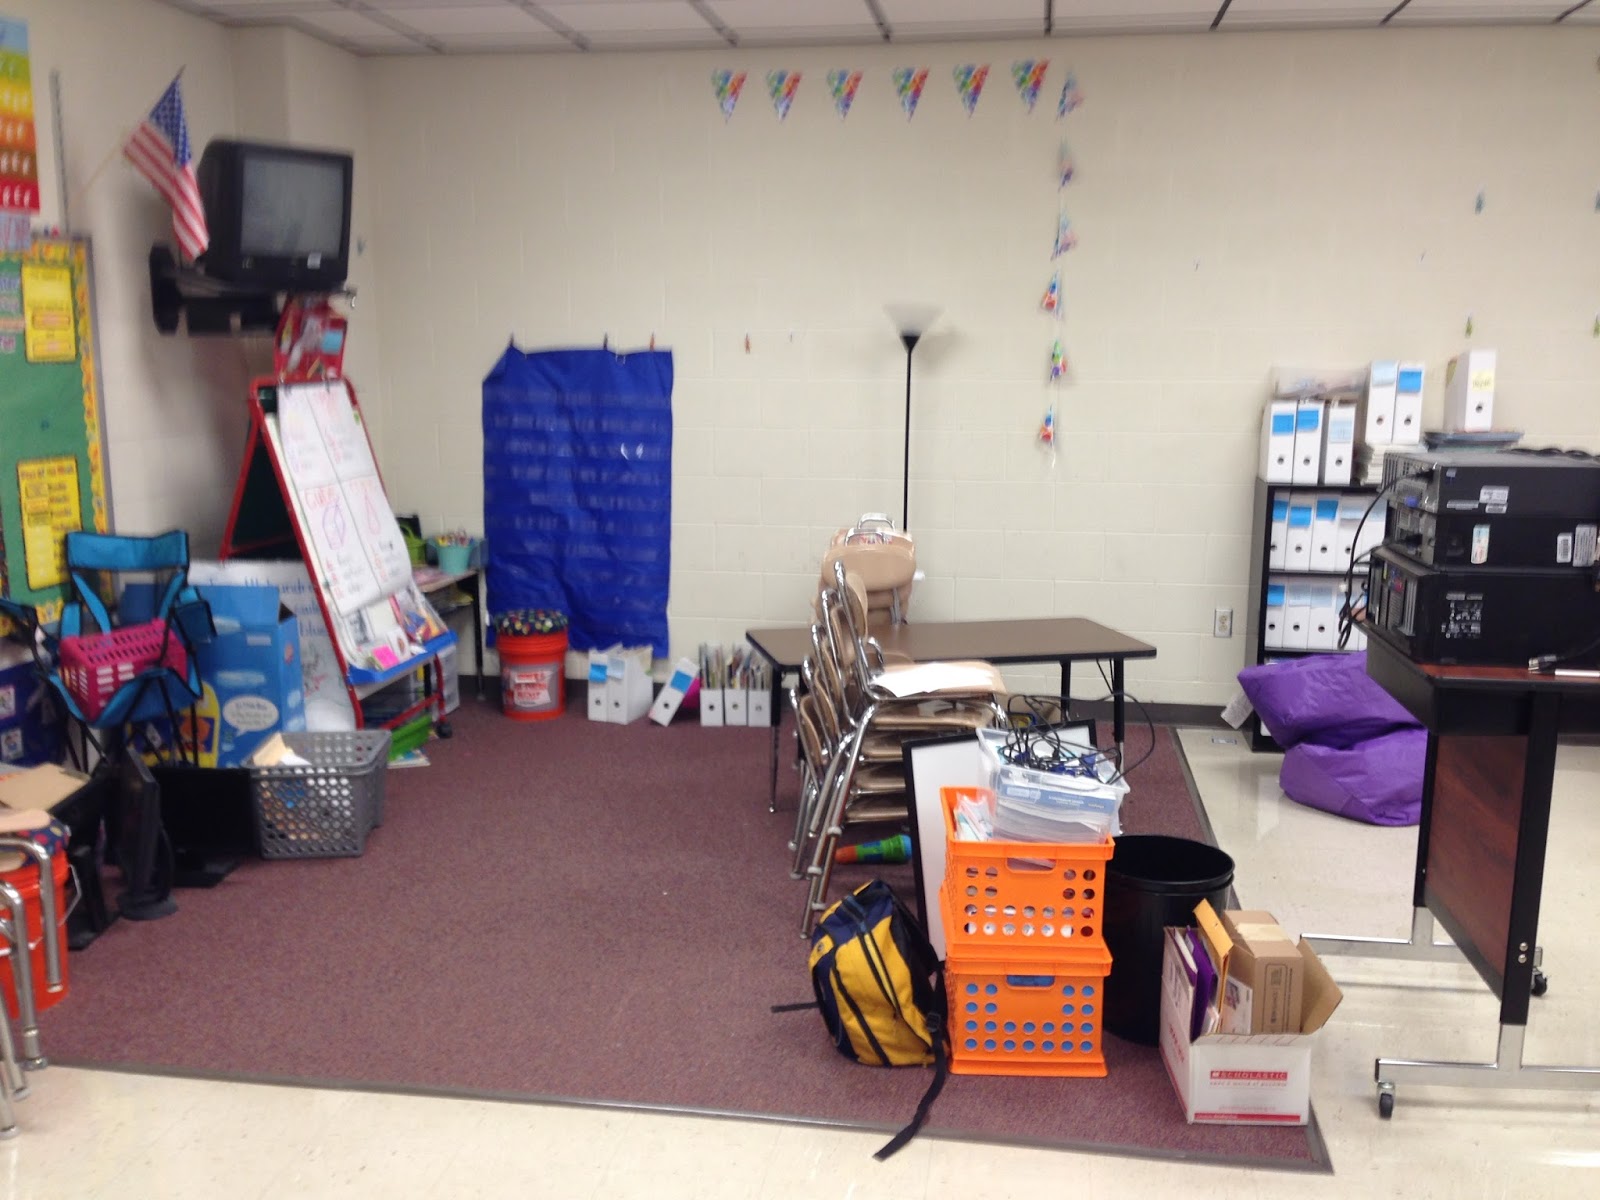
I used the scoreboard for only a short time at the beginning of last year as I was introducing my procedures. I struggled finding a place to keep the scoreboard so that it was easily accessible, but also visible. After my students became proficient with my procedures, I kind of let it go. I wish I hadn't done that, but that's what happened. 

I'm hoping that having this amazingly beautiful scoreboard in a particular place (and still moveable if necessary), that I will use this consistently throughout the year. 

Just one more picture of this beauty! EEEKKK! I'm so excited!


For more information about the Scoreboard or Whole Brain Teaching in general, click here.


Tuesday, June 30, 2015

WBT Tuesday…The Rules!

5 rules

5 SIMPLE rules

That's it! And I have to say, I love these rules! You want to know what they are….

Here you go:


I mean, really, could it get any simpler?

These rules are short and easy to remember, but if you know anything about Whole Brain Teaching, you can't just say the rules, you have to use gestures. Remember the more parts of the brain you use, the more likely you are to remember it.

Each morning (especially at the beginning of the year and when I have a sub), we say the rules. But in all reality, they aren't just saying the rules. When we go over the rules, we are using at least 5 parts of the brain to make the memory of the rule. Have you ever heard a song that triggered a memory? What about smelled something that made you remember your grandmother's house? Or maybe you've said something and realized that your mom used to say that? That is because there is no one place to store memories in the brain. Memories are stored in many parts of the brain. When you heard that song, it triggered a memory in the auditory part of your brain called Wernicke's area. When you smelled something and remembered your grandmother's house, you pulled up an emotional response to that smell in your limbic system. When you realized just how much you've started sounding like your mom, you've pulled a memory located in Broca's area (verbalization). Look at all those places in you brain that you've stored memories!!!! Shouldn't students be able to store memories of lessons all over their brain?????? Of course!

Now back to the rules. Like I said above, when reciting the rules, students use at least 5 parts of their brain.

First is the auditory (Wenicke's area); they are hearing the rule when it is said. Second is verbal (Broca's area); they are saying the rule. Third is emotion in your voice (limbic system); they are hearing and verbalizing the emotional tone of voice you are (so don't be a robot). Fourth is visual (visual cortex); they are seeing the gesture for the rule. Fifth is movement (motor cortex); they are using a gesture to remind them. Now you have three places in the brain to keep a memory about these rules…the more places in the brain to store a memory, the more likely you (or students) are to remember.

So, what are the gestures?


Move your had forward quickly like a fish swimming through water.


For the "raise your hand" part, you simply raise your hand in the air. Then, for the "permission to speak" part, you move your hand beside your face and make a talking motion.


Again, for the "raise your hand" part, you just raise your hand. Then, for the "permission to leave your seat" part, you make a little walking man with your pointer and middle fingers.


Use your two pointer fingers to tap your brain as you say each word.


Use your pointer fingers and thumbs on both hands to make a L-shape to "frame" your face, bob your head back and forth, and of course smile really big!


There you have it, folks! Simple, easy-peasy (lemon squeasy) classroom rules!

My favorite thing about these rules is that there are NO LOOPHOLES! 

Didn't do what the teacher said----breaks Rules #1, #4, and #5

Pulled a classmate's hair----breaks Rules #4 and #5

Did not ask permission to leave an area----breaks Rules #3, #4, and #5

Are you getting the gist that everything breaks Rules #4 and #5! I tell my kiddos that if they aren't making smart choices (following Rule #4), then they aren't keeping their dear teacher happy (Rule #5). And you know five year olds all want their dear teacher to be happy and proud of them! 

If you need or want any more information about WBT or the Rules, you can go to the Whole Brain Teaching website, or comment below and I will help with whatever I can.

Monday, June 29, 2015

Monday Made It: June 29

Why, hello there! Life's been a little nuts for the last week or so, so I took a break. Hopefully, I can get back in the swing of things around here!

I'm linking up again with Tara from 4th Grade Frolics for Monday Made It!


Today I have two things for you. The first is a little sneak peek into my classroom (because I made a mess today), and the second is something I made to help keep me organized (yeah right).


This morning, we got the go-ahead to get back in our classrooms and start the set-up, so of course, I did. When we leave school at the end of the year, we stack all of our furniture on our carpet. So, today, I got all the tables where I think I want them (for now anyway). I guess I'm going to call that my first Monday Made It. Here is a little sneak peek…you'll have to wait until the final reveal to see more!!!

Sorry these might be a little blurry, I took them in a hurry.

Here is where all my furniture (plus other junk resources used my teachers) was stored. Woohoo!


Here is the front left of the classroom with my sink, water fountain, and Word Wall.


Here is the back left of the classroom with cubbies and my lovely catch-all counter.


The back right: number chart, outside door, math practices, and essential questions.


And here is the progress I made today thanks to my BFF Tiff (and her daughter and father)! We moved all the tables off the carpet except one I'm giving to Tiff for all her hard work :)

Here you can see my Teacher Table in front of the cubbies and counter. I also have two large tables and a smaller one here. The two larger ones are student tables, and I'm going to try to make the smaller table my media table with my projector, Elmo, and laptop. I have a love/hate (mostly hate) relationship with my media cart so I want to see if I can do without it. Thoughts?


Another set of student tables in the middle of the room, two computer tables under the blue bulletin board, and a small table to the left of my outside door for any assistant that comes in to work with students. You can also see my podium (which usually sits outside my door in the hallway) stacked high with computer towers…oh the joys of summer computer updates.


Here is the carpet area (so far). The table is the one for Tiff, and then I just have to sort through the rest of the stuff and put it away. I'm not really looking forward to that. Although I know that my cloffice (closet/office) will be much worse to deal with. It looks like I had a paperwork firework show in there…I hate filing!


This is the front left again. You can see the Word Wall and the long table will be home to two centers. 


Once upon a time, I had two white bookshelves, so I put them in an L shape around a corner. I don't love it, but I'm hoping it will be functional. The one under the blue chart will be a center, and the one by the vent might possibly hold their Brain Books and D.O.T. Binders. Brain Books are just binders that have individualized practice items inside for use when we have down time or when we have a sub. D.O.T. Binders are their take-home binders. I got the idea from Ashley at The Polka Dot Patch. Here is the direct link to the post she wrote. More about both of those binders closer to school.


And here is another little Monday Made It. 


I'm so excited about this ya'll. Yes, I know you can buy those write-on/wipe-off boards, but they aren't as cute as this!


A school year calendar that is HUGE and I can write on it!!!!!!!! 

All I did was print out a 12 monthly calendars for August through May. I'm not really sure where I got this calendar, I'll keep searching, but it might have just been from Word on my computer. Anyway, I printed it out, cut off some of the excess then taped it onto a cork board I already had at home for patterning and sewing. I was going to staple it, but this is a cheap cork board, and the staples only went in about a millimeter, so I reverted to tape and it has held up so far. I think the board might be somewhere around 36"x48" for those of you who need measurements to get a clearer picture. 

After taping it down, I grabbed four different colored markers and outlined each quarter. That way I can clearly see that Quarter 1 ends 5 days into October, and then we have a break. I also went ahead and put the district calendar dates such as Professional Learning days, Administrative days, BREAKS (can't forget those), and any other important dates.  

My goal is to bring this to my grade group's planning meetings we have each quarter. I'm hoping it will us all see what we have planned when. Here's to hoping!


Friday, June 19, 2015

Weekly Reading Wednesday…on Friday

I am linking up once again with Greg from the Kindergarten Smorgasboard for his book study of Debbie Miller's Teaching with Intention.

We have crossed into Part 2 of the book which is all about taking action in your classroom.

Up this week is Chapter 3: Environment, Environment, Environment!


This week's hosts are Stephanie from The Learning Chambers

The Learning Chambers

Corinna from Surfin' Through Second,

Surfin' Through Second

Sassy, Savvy, Simple Teaching
I'll be honest, this chapter took longer for me to read because there was so much in it. 

The first quote that stood out for me was on page 27. Debbie said, "When things are going awry for teachers, things are probably not going so well for the kids either."

This is so, so, so, so true! I know there are always going to be those times when I'm not as prepared as I should be, or a lesson won't go the way I thought it would, but one of my goals this year is to be more prepared than I ever have been. I think that because this will be my third year in Kindergarten, my vision for the year is a little more clear than previous years. So, one of my goals is to be prepared!

To get prepared, I will need to be very organized (a huge downfall of mine)! I'm really not good at staying organized. I always have such good intentions at the beginning of the year, but by about October, everything is thrown to the wind. My grade group jokes that if there is anything that needs to be kept up with for more than about a day, I do not need to be the one to keep it because it will be lost in the abyss. Ha! It's so true!

Debbie suggests that the first step is to "Clear the Decks!" When I set up my classroom this year, I will start at the very beginning and be ever so purposeful about the furniture, baskets, bins, and seats that I bring in to the room. Everything in my room this year will have a function…cute, but functional!

Last year, the first thing I looked at when setting up my room was where I wanted my literacy centers. I wanted to be sure that each center had a defined and functional space. After I found those spaces for all of my centers, I was able to place the students' tables, my table, etc into the classroom. I absolutely LOVED my classroom last year (except the organization aspect). I do want to change it up a little bit this year by maybe lowering a table to two, moving centers around a little, but I will definitely be starting the planning and arranging with the center spaces first.

What do you do first when you set up your classroom?

Monday, June 15, 2015

Monday Made It: Conference Calendar

Once again I am linking up with Tara from 4th Grade Frolics for Monday Made It!


Today, instead of dragging out all of my crafting supplies, I went digital! I made a cute little calendar that I will be using during our Daily 5 time to schedule reading and writing conferences with my students. 


I'm beginning to make my "Pensieve" (as the Sisters call it) for my ELA block. So this is the first of many pieces that I will use in that binder.

Yes, I know that I can download calendars everywhere (including TeachersPayTeachers), but I really wanted to make sure it would work for me. 


I made the Sunday and Saturday columns small because I won't be writing in them and I was able to make the Monday through Friday columns bigger!

I also wanted to make my own so I could choose the fonts. I love fonts! The fonts I used on this calendar are from Nicole at Rowdy in Room 300. She has some great fonts you should check out!

Thanks for checking out my Monday Made It!

Saturday, June 13, 2015

Super Saturday: Summer Reading

Today I am linking up with Lucky to Be in First today to share my summer reading list.

Lucky to Be in First

 I have already read three books this summer, and don't have too many more on my list right now. I'm sure that list will grow as the summer goes on, but I thought I'd share what I have so far.


To Kill a Mockingbird by Harper Lee
The Book Thief by Markus Zusak
The Jewel by Amy Ewing

And here are some books I recommend for anyone looking for books.


City of Bones by Cassandra Clare
The Color of Grace by Bethany Haley Williams
The Help by Kathryn Stockett
Wonder by R.J. Palacio
The Selection by Kiera Cass

I have to say my favorite book of those above is The Color of Grace. I have the honor of knowing (and loving) the author. She has such a wonderful and beautiful heart. You should really read her story of how she came to work with war-effected children in Africa!

Thursday, June 11, 2015

Thrifty Thursday- Quickly Hand Out Math Manipulatives

I am linking up with Greg from The Kindergarten Smorgasboard today for Thrifty Thursday.

The Kindergarten Smorgasboard

His Thrifty Thursday is really neat, you can check it out by clicking the picture below.


Now, onto my Thrifty Thursday!!!

Can I just start by saying that I love, love, love the Dollar Tree! They have some great stuff that can be used in so many ways in the classroom! Today I bought these little plastic bowls. They come 4 in a pack, so they were only $0.25 each! Y'all, if that isn't thrifty, I don't know what is!


The reason I bought these containers is because I hate handing out manipulatives. Sometimes I just throw the manipulatives in the middle of the floor and tell the kids to grab 10 (or 20). I know that isn't exactly organized, but I seriously HATE handing out manipulatives. I've tried to whole baggie thing where I've put whatever number of manipulatives into 20 baggies, but my kiddos are 5 and baggies aren't the easiest thing for them to open or close (especially close) unless they are the zipper kind. Do you know how expensive those zipper baggies are? Um, NOT thrifty! Plus, I don't know about y'all, but I think I run out of the student supplied baggies (1 box of gallon for girls and 1 box of quart per boy) by October…maybe November if I'm really conservative.

I say all of that so you understand that I needed a better system. That's where these little containers come in. I'm so excited to not have to do so much with manipulatives in baggies this year!

So, I bought 20 containers…4/pack at $1 each, that's only $5!


I then took some manipulatives and filled them up. I started with 10 cubes in each container.


I wanted to see if 20 cubes would fit so that I wouldn't have to get more containers, and they fit perfectly!


I obviously wasn't at school when making these, and don't typically keep unifix or snapping cubes on hand at home during the summer, so I also bought these foam cubes from the Dollar Tree! They measure about 1 inch by 1 inch, and are foam, so I won't hear the plastic cubes dropping all over the floor! I love them!


The come with 50 in a pack 10 of two colors and 15 of two colors, do I did have to do some digging to get exactly 10 of each color because I didn't want a mix of colors in the container (yes, OCD, I know). I got 4 packs: 2 with 15 each of red and blue and 2 with 15 each of green and orange, and it all worked out. After I finished putting 10 in each container, I realized I loved them so much, I went back and bought 4 more packs so I can put 20 in each when we start our teen numbers!

So, this entire project cost me $5 for the containers and $8 total for 400 cubes (8 packs). So for $13 plus tax, I can now hand out cubes for manipulatives VERY easily! No more nightmares!

And all 20 containers fit nicely into my lovely GoNoodle reusable tote for convenient carrying purposes, although once I get them to school, I will probably put them into one large container to keep them easily accessible for mini lessons/activities.


I have a feeling that I will be going back to Dollar Tree soon for more containers of various sizes for different manipulatives. I've already got containers for dice (so they don't shoot across the floor), and red/yellow counters (for composing and decomposing numbers), so I am already off to a good start! Who knows what I'll put in containers next...